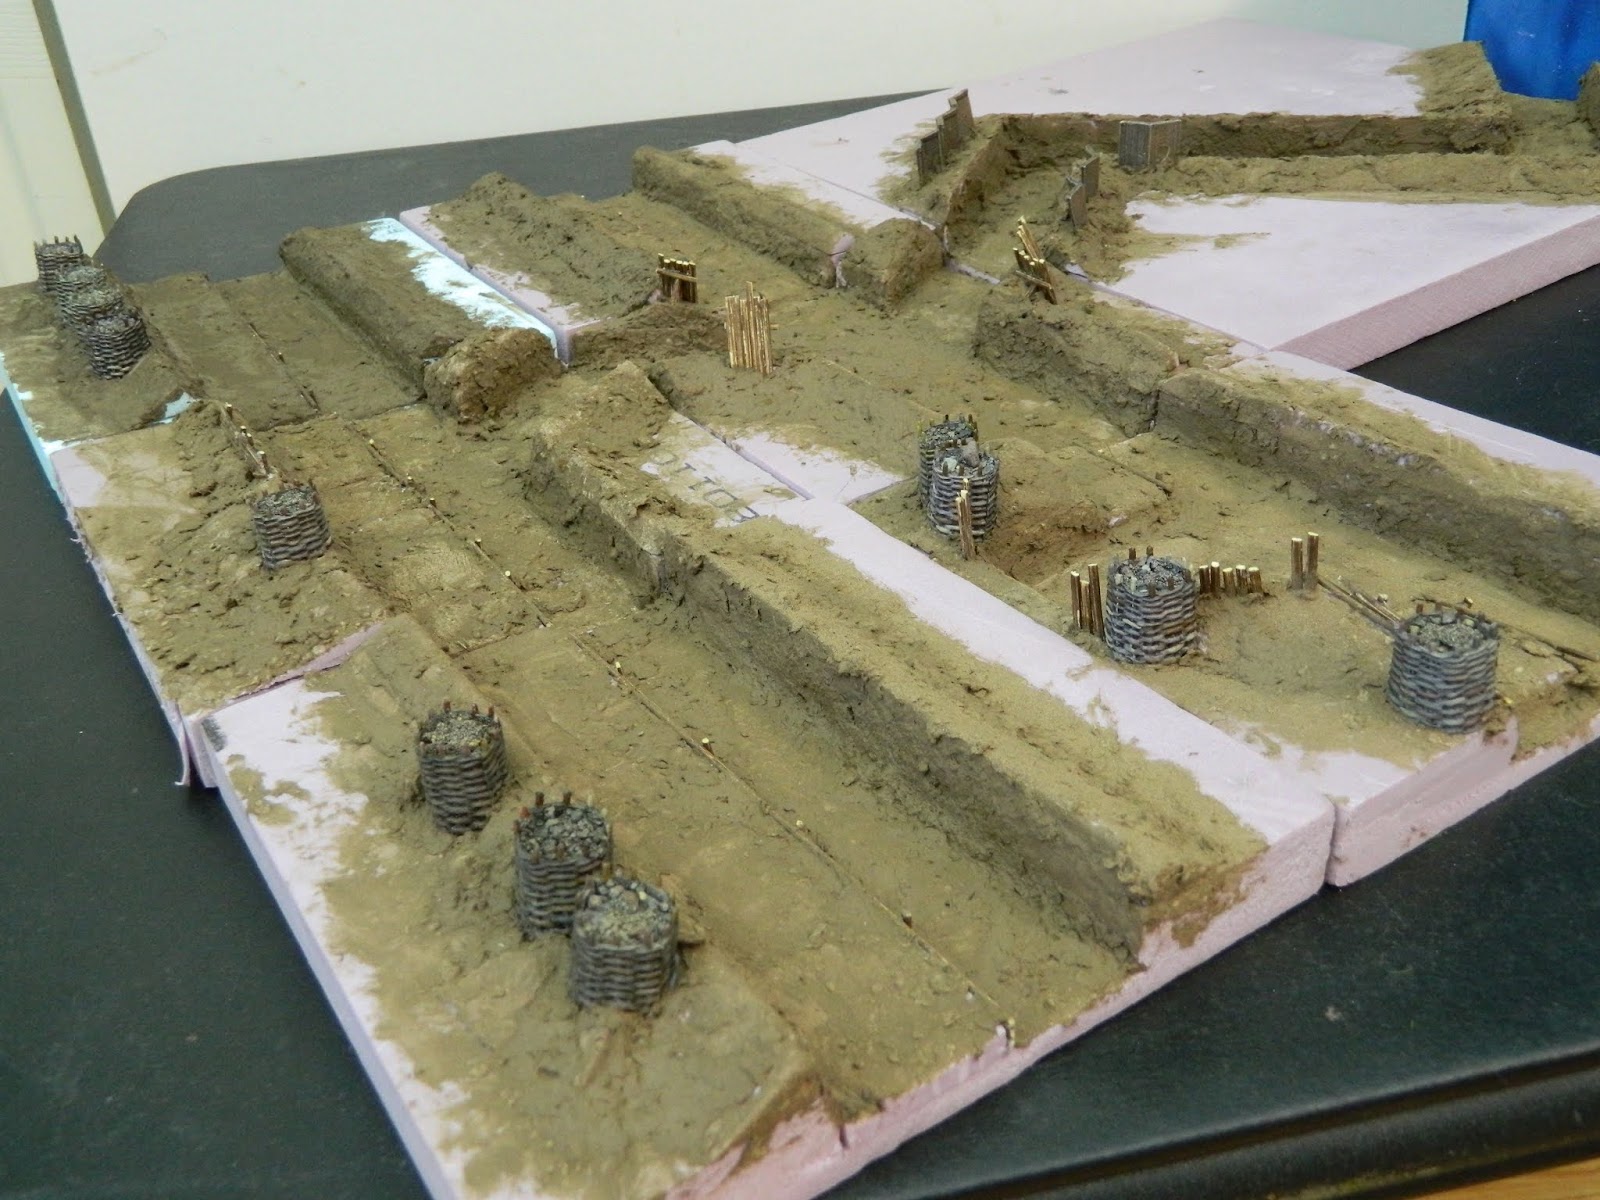
In preparation for this project I bought a few sprues of Renedra plastic gabions. Primed grey then washed and painted in a variety of woody colours.

I stuck a bunch into the foam with a hot glue gun; concentrating on the gun emplacements first before throwing a few around the other trenches.

Next up I built a shooting step using a collection of (I think) bamboo that was cut-offs from a blind we bought:

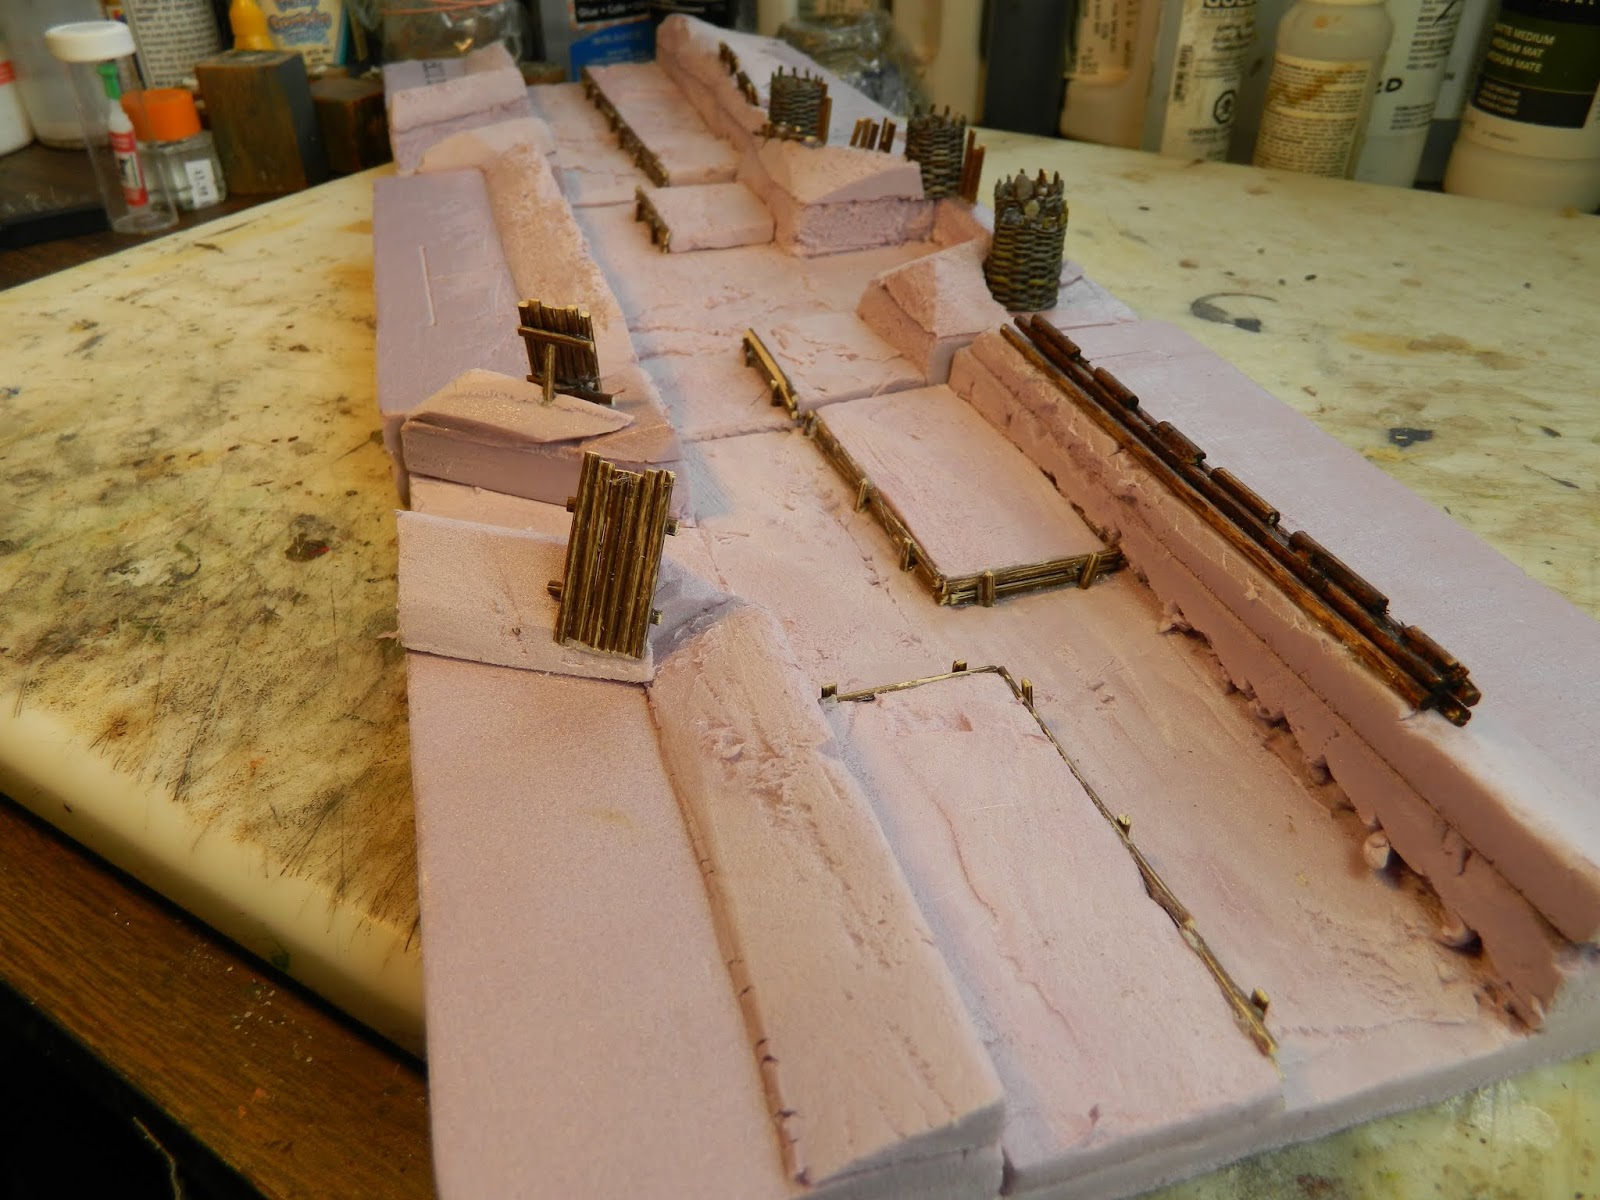
The saps had engineering pavises dug into the front of the saps. Generally they had wheels on them and were moved along as the engineers advanced the saps towards the besieged but I choose to show them dug into the dirt. These were made and cast in metal by Murdock:


The defensive trench also got some sharpened stakes to slow down the assaulting enemy. In By The Sword Divided they called them "Swedish feathers" but they didn't really look like how Swedish feathers are usually interpreted:


Then just this morning the trenches and earthworks got coated in a mix of Sculptamold and thinned brown paint (Sherwin Williams Half- Caff for those interested):


Congrats, useful and beautiful work!
ReplyDeleteWow. Looks fabulous already! Great work. I really like your gabions.
ReplyDeleteI have always called those stakes in earthworks. ‘storm poles’. Not sure if that is right.
That's coming along nicely, and those gabions look very nice indeed.
ReplyDeleteYour WiP defensive works are looking fab. Gabions are especially nice.
ReplyDeleteThank you guys. Hopefully I will get a bunch more work done this coming weekend.
ReplyDeleteVery very smart! I kept mine loose from bases, but glued in groups, mainly so that I could use them from game to game and period to period.
ReplyDeleteDon;t think I actually painted them though - just drybrushed the plastic :)
Looks like a lot of work, but the results are shaping up to be awesome!
ReplyDelete